Data linking
You can upload CSV files to Gliffy and drag and drop data points into your diagrams. Or, start from a blank table and manually populate your own data directly in Gliffy.
The Data linking button is located in the menu on the left:
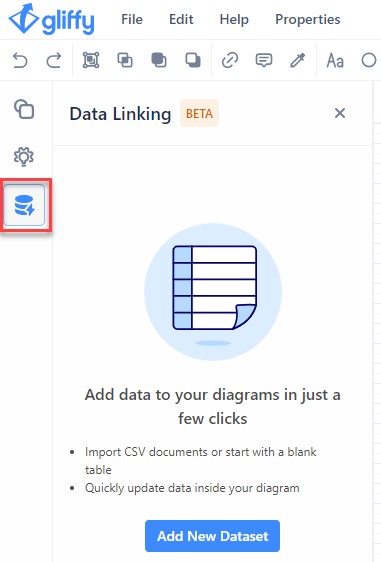
Add data to your diagram
Follow these steps:
-
In the left menu, click the Show data linking button.

-
Click Add New Dataset.
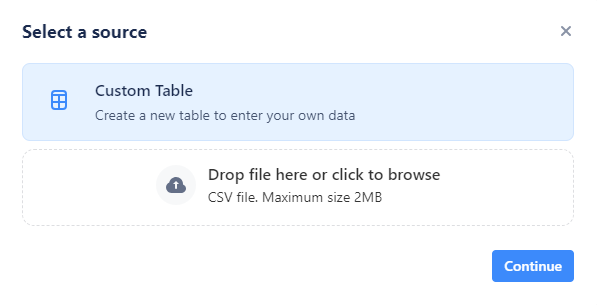
A pop-up window Select a source opens. -
You have the options of a Custom Table or a CSV file.
-
Click Continue.
For further steps, see Add data to your diagram with a CSV file or Create a custom table.
Add data to your diagram with a CSV file
You want to add data to your diagram by uploading a CSV file.
Follow these steps:
-
Drag and drop or browse to find a CSV file.
-
Once the file is uploaded, click Continue.
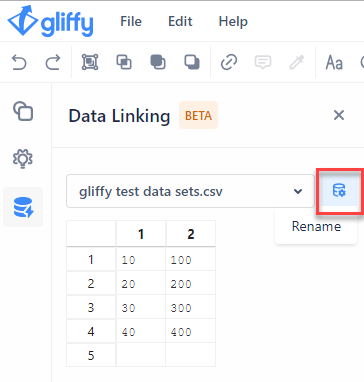
Your CSV file shows as a table in the Data Linking section on the left. -
(Optional) Rename the table.
-
Create a diagram, if you haven't already.
-
Drag and drop the data from the table to the diagram.
A link icon is shown for the table cells that are linked to the diagram.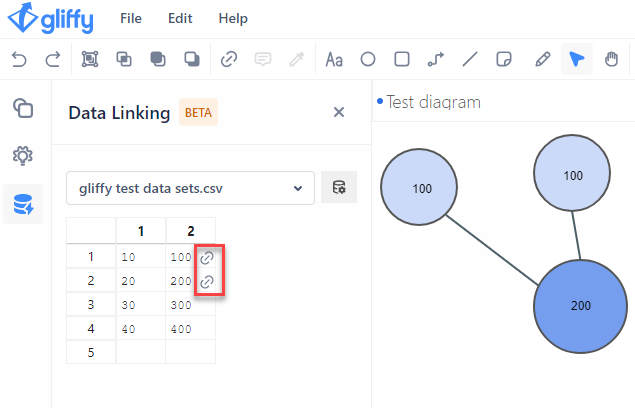 You can link the same data cell to the diagram multiple times.
Create a custom table
You want to add data to your diagram by creating a new table.
Follow these steps:
-
Populate the blank table in the Data Linking section on the left with your data.
-
(Optional) Rename your table.
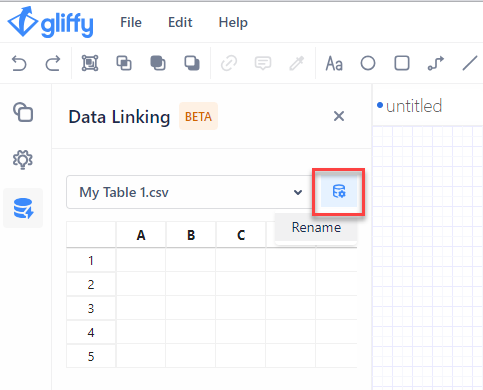 While you populate the table with data, rows and columns are added automatically.
 -
Create a diagram, if you haven't already.
-
Drag and drop the data from the table to the diagram.
A link icon is shown for the table cells that are linked to the diagram.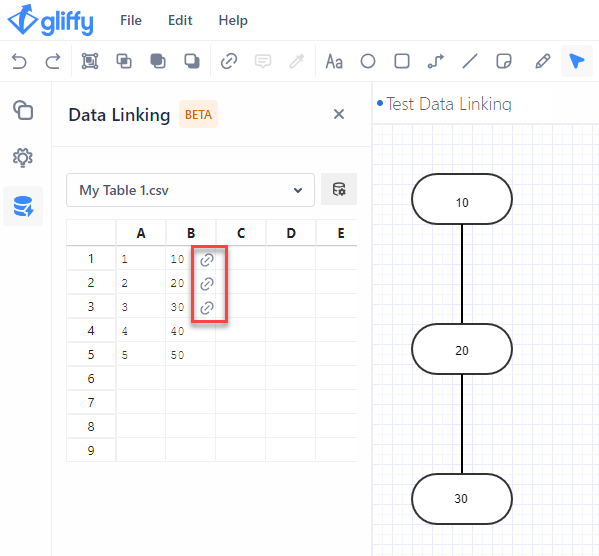
You can perform the following actions:
-
If you edit the data in the table cell that is linked to the diagram, the data is automatically edited in the diagram as well.
-
If you delete the data from the table cell, the link to the diagram remains.
-
To remove the link, click the link icon in the table. The data in the diagram is highlighted, ready to be deleted.

